Understanding On-Site Videography
What is On-Site Videography?
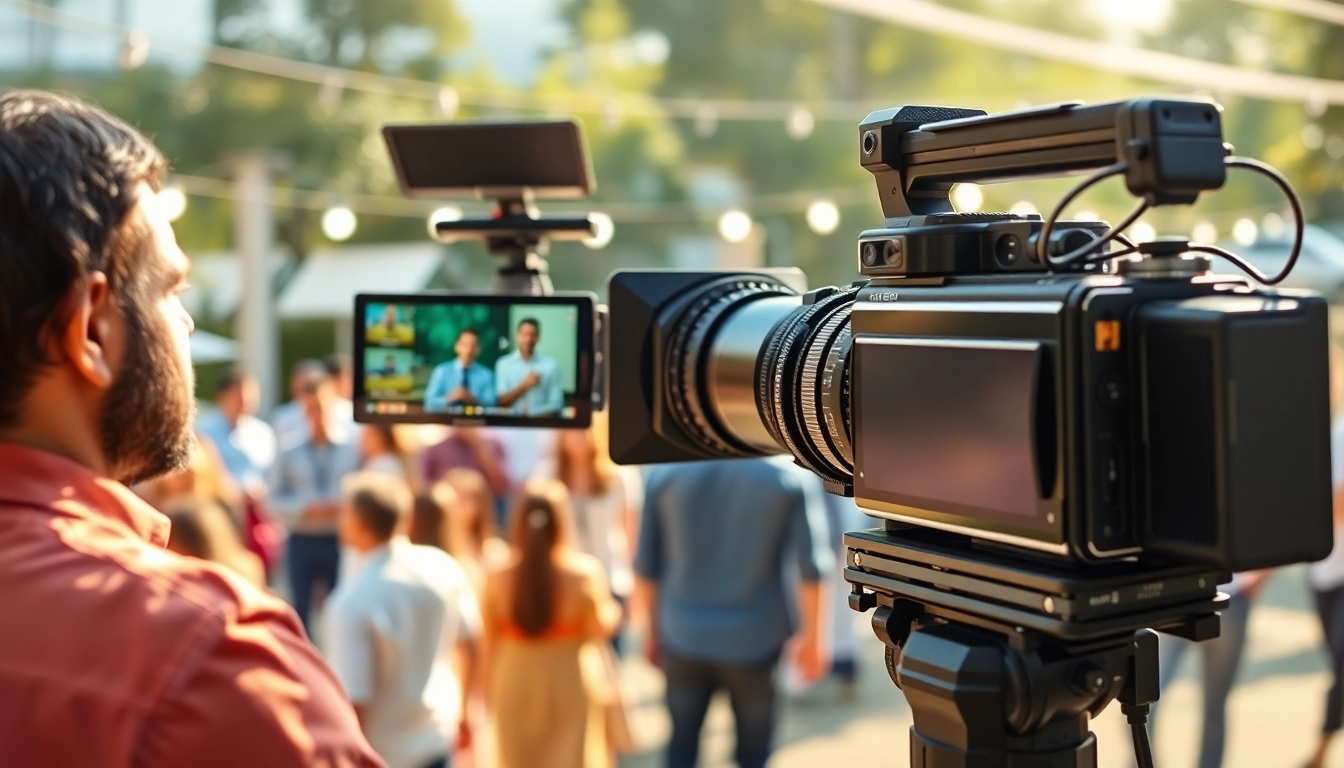
On-site videography refers to the process of capturing video footage directly at a location where an event or activity is taking place, rather than in a controlled studio environment. This type of videography aims to document real-life situations in their natural setting, offering an authentic representation of events as they unfold. It can encompass various scenarios, from corporate events, weddings, and conferences to training sessions and promotional videos.
By allowing videographers to capture spontaneous moments and interactions, on-site videography not only brings a sense of immediacy but also enhances the storytelling aspect of the content. Whether you need to showcase a significant event or create compelling marketing materials, On-Site Videography can offer unique value in engaging your audience through visual storytelling.
Benefits of On-Site Videography
The benefits of on-site videography are extensive, making it an excellent choice for businesses and individuals seeking to effectively communicate their messages. Here are some key advantages:
- Authenticity: Capturing video in a natural setting creates relatable content that resonates with viewers. It highlights real emotions, interactions, and spontaneous moments.
- Immediate Impact: On-site videography allows for immediate coverage of events, enabling timely dissemination of content to audiences across various platforms.
- Versatile Uses: This technique can be utilized for numerous applications, including marketing campaigns, training material, event documentation, and personal milestones.
- Engagement: High-quality video content is often more engaging than text alone. It can improve audience retention and spark interest in your brand or message.
- Cost-Effectiveness: While professional videography may appear costly upfront, the return on investment (ROI) through enhanced visibility and engagement often justifies the expense.
Common Uses of On-Site Videography
On-site videography finds applications across various industries and scenarios. Here are some of the most common uses:
- Corporate Events: Documenting seminars, conferences, and team-building exercises helps businesses promote their brand and share knowledge.
- Weddings: Capturing the magic of wedding ceremonies and receptions allows couples to preserve and share their special day.
- Product Launches: Filming product unveilings and demonstrations can create buzz and excitement around new offerings, effectively drawing attention from potential customers.
- Training Videos: On-site training sessions can be recorded to create materials that assist in knowledge transfer and employee onboarding.
- Promotional Content: Brands can leverage on-site videography to create compelling marketing materials that showcase their offerings and corporate culture.
Planning Your On-Site Videography Project
Key Considerations for Successful Planning
Successful on-site videography requires meticulous planning to ensure that the final product meets expectations. Here are some critical considerations:
- Define Your Objectives: Understand what you want to achieve with your video. Is it to inform, entertain, educate, or promote? Clear objectives will guide your planning and execution.
- Target Audience: Identify who your audience is. Knowing your viewers will influence the style, tone, and content of your video.
- Budget: Establish a budget that covers all aspects of the project, including equipment, personnel, and post-production costs.
- Timeline: Create a realistic timeline that accounts for preparation, shooting, and editing phases, accommodating any potential delays.
- Permissions and Legalities: Ensure that you have the necessary permissions to film at your chosen location, including crowd control and copyright considerations.
Essential Equipment for On-Site Videography
Effective on-site videography requires a range of equipment to ensure high-quality footage. Below is a list of essential gear:
- Camera: A high-definition camera capable of capturing sharp and clear footage is crucial. DSLR or mirrorless cameras are popular choices.
- Tripod/Stabilizers: To avoid shaky footage, use a tripod or a stabilizer. Gimbals are also excellent for smoother movements.
- Microphones: Clear audio is essential for any video. Utilize external microphones, such as lapel mics or shotgun mics, to capture sound accurately.
- Lighting Equipment: Good lighting enhances video quality. Softboxes, LED panels, or reflectors can help illuminate subjects effectively.
- Editing Software: Post-production is an integral part of videography. Investing in quality editing software will allow you to refine and enhance your final product.
Choosing the Right Location for Videography
The location of your shoot can significantly impact the outcome of your video. Here are factors to consider when choosing a site:
- Relevance to Content: Ensure that the location aligns with the message you aim to convey. A setting that reflects your theme will add authenticity.
- Accessibility: The chosen location should be accessible to your crew, equipment, and participants.
- Environmental Conditions: Be aware of weather conditions and how they may affect your shoot, especially if filming outdoors.
- Background and Sound: Assess the background for distractions and consider potential noise issues, which may interfere with audio quality.
Techniques for Effective On-Site Videography
Best Practices for Shooting Video on Location
To achieve optimal results in on-site videography, adhere to these best practices:
- Plan Your Shots: Before shooting, create a shot list and storyboard to visualize your ideas and streamline the filming process.
- Control the Environment: Whenever possible, manage external factors like noise and lighting by choosing optimal shooting times or using soundproofing solutions.
- Engage with Your Subjects: Build rapport with individuals in front of the camera, making them comfortable and encouraging natural performances.
- Check Equipment: Conduct thorough checks on all equipment before filming to ensure functionality and avoid disruptions during the shoot.
- Monitor Footage: Regularly review captured footage during the shoot to affirm quality and revise any plans if necessary.
Lighting Techniques for Different Environments
Lighting plays a vital role in videography, and understanding how to manipulate light in various settings can vastly improve your footage:
- Natural Light: When using natural light, shoot during golden hours (early morning or late afternoon) for the best results. Utilize reflectors to bounce light into shadows.
- Artificial Lighting: In controlled environments, use soft lighting to create a flattering and professional look. Overhead lighting should be diffused to minimize harsh shadows.
- Mixed Lighting: Be mindful of mixed light sources; white balance settings may need adjustments to maintain consistent color tones.
- Use of Flags and Diffusers: These tools can help manage light by blocking harsh rays or diffusing light sources to soften the image.
Sound Quality: Ensuring Clear Audio in Videography
Clear audio is critical to the effectiveness of any video. Here are strategies to ensure high-quality sound:
- Choose the Right Microphone: Select microphones based on the context—lapel mics for interviews or shotgun mics for directional sound capture.
- Monitor Audio Levels: Use headphones to monitor audio during recording, confirming clarity and identifying background noises that may need rectifying.
- Record Ambient Sound: Capture background audio separately to layer in during editing for a fuller sound experience.
- Consider Environment: Pay attention to sound interference from wind, traffic, or crowds, and take measures to mitigate these disruptions during filming.
Editing and Post-Production in On-Site Videography
Editing Techniques for Captured Content
Editing is often where the magic happens in videography. Here are vital techniques for effective editing:
- Establish a Narrative Flow: Arrange footage to create a compelling story that engages viewers while maintaining a logical sequence.
- Utilize Cuts and Transitions: Use various cuts and transitions to maintain pacing and keep viewers engaged without losing context.
- Add Text and Graphics: Incorporate text overlays, titles, and graphics to enhance storytelling and provide important context or information.
- Incorporate Sound Design: Layer in background music and sound effects to enrich the audio experience and support the emotional impact of your narrative.
- Color Grading: Apply color correction and grading to ensure visual consistency and enhance the overall aesthetic.
Tools and Software for Videography Editing
The right tools can significantly streamline the editing process and improve the final output. Here’s a selection of software options:
- Adobe Premiere Pro: A widely used professional video editing software that offers advanced features for detailed editing.
- Final Cut Pro: Popular among Mac users, it provides professional capabilities with a relatively easy learning curve.
- DaVinci Resolve: Offers a comprehensive set of color grading tools and is suitable for both beginners and advanced editors.
- iMovie: A user-friendly option for beginners, providing basic editing functionalities without overwhelming complexity.
- Filmora: Suitable for quick edits and simple videos, it features a range of preset templates and effects.
Creating a Cohesive Story Through Editing
To transform raw footage into a coherent story, consider the following strategies:
- Start Strong: The opening of your video should grab viewers’ attention immediately. Use intriguing footage or strong visuals to hook your audience.
- Use Voiceover: Incorporating a voiceover can help guide the viewer through your narrative, adding depth to the visuals.
- Connect Scenes Logically: Ensure the transition between shots is smooth and logical, maintaining a consistent flow of ideas.
- Encourage Emotion: Enhance emotional impact through careful selection of music, pacing, and visual cues, allowing audiences to connect with the content personally.
Measuring the Impact of On-Site Videography
Performance Metrics to Track for Videography Projects
To evaluate the success of your on-site videography project, consider tracking the following performance metrics:
- View Count: The number of views serves as a basic indicator of reach and interest in your video content.
- Engagement Rate: Metrics such as likes, shares, comments, and subscriptions can provide insight into how well your audience is connecting with your content.
- Completion Rate: Analyzing how many viewers watch your video to completion can indicate the effectiveness of your storytelling and pacing.
- Click-Through Rate (CTR): For promotional videos, tracking CTR on calls to action will reveal how effectively your video drives traffic to your website or product.
- Audience Feedback: Gathering qualitative feedback through surveys and comments can yield valuable insights on audience perception and suggestions for improvement.
Evaluating Audience Engagement and Feedback
Analyzing audience engagement involves more than just gathering metrics. Consider the following techniques:
- Monitor Social Media Activity: Pay attention to how audiences respond and interact with your video on social platforms. Look for shares, reactions, and discussions around your content.
- Conduct Surveys: Use surveys to get direct feedback from your audience. Ask questions about their experience and what they liked or disliked about the video.
- Analyze Comments: Study comments for valuable insights into viewer opinions and sentiments regarding your content.
- Engage with Your Audience: Respond to comments and foster discussions to deepen relationship dynamics and understand audience preferences better.
Using Videography to Boost Event Marketing
Videography can play a pivotal role in promoting events and enhancing marketing efforts. Here are several ways to leverage video for business growth:
- Preview Videos: Create teaser videos before events to build excitement and anticipation among potential attendees.
- Live Streaming: Stream events live to engage online audiences, extending reach beyond physical attendees and generating real-time interaction.
- Post-Event Recaps: Produce highlight reels capturing key moments, testimonials, and attendee experiences. These can serve as powerful promotional tools for future events.
- Integrate Video with Email Marketing: Use video content in email campaigns to increase open rates and drive traffic to event registration pages or websites.
- Share on Social Media: Distribute your video content across social media platforms to maximize outreach, leveraging hashtags and targeted ads to enhance visibility.